
 (1) (1).png)

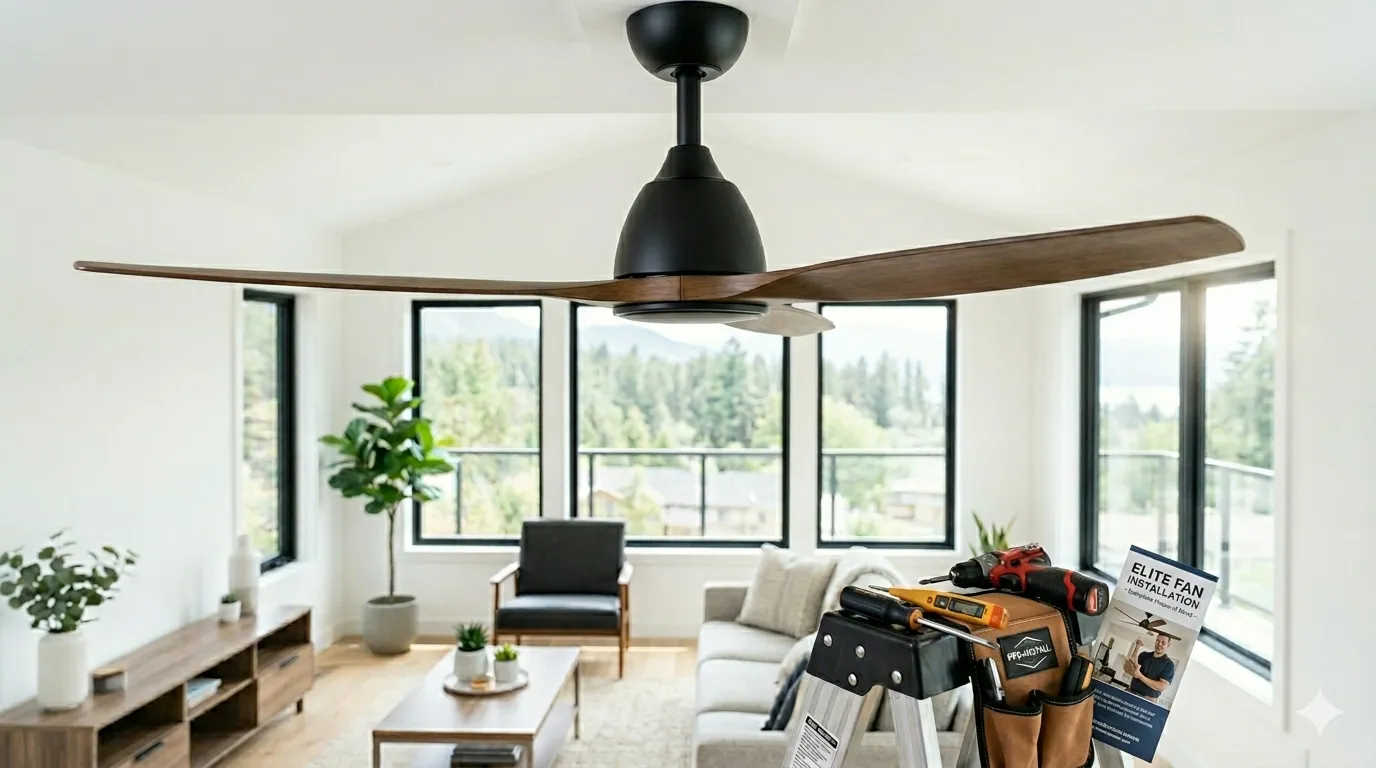
Step 1: Assessing the Electrical Circuit and Ceiling Structure
The process begins long before any tools are picked up. Our first action upon arriving at your property is a thorough, no-assumptions evaluation of the intended installation site.
Circuit Capacity and Load
We determine whether we can safely proceed with how to install a ceiling fan with existing wiring, or if the current circuit is shared, overloaded, or lacks the necessary amperage to support the new motor and light kit.
Structural Integrity
We locate the exact position of wooden joists or steel beams using professional-grade detection tools to guarantee a secure, vibration-free foundation.
Transparent Pricing
If new wiring or structural reinforcements are required, we provide a clear, upfront breakdown of the ceiling fan installation cost, ensuring there are absolutely no hidden fees. Homeowners searching for ceiling fan installation near me choose us because we prioritize transparency and safety over quick, substandard fixes.
Your Trusted Vancouver Island Electrician
From Nanaimo to Victoria, VanIsle Electrical delivers licensed, reliable electrical services for homes and businesses. Experience professional workmanship and lasting solutions. licensed electrician handle the installation to keep your HVAC warranty safe.
Step 2: Installing a Ceiling Fan Rated Electrical Box
One of the most critical and frequently overlooked aspects of DIY projects is the electrical box. A standard plastic light fixture box is designed solely for static loads and will inevitably fail under the continuous vibration and dynamic weight of a rotating fan.
Electrical Box Comparison
| Box Type | Load Capacity | Vibration Resistance | Van Isle Recommendation |
|---|---|---|---|
| Standard Plastic Fixture Box | Static loads only (e.g., chandelier) | Fails under dynamic weight | Do Not Use |
| UL-Listed Fan Rated Box | Rated for specific fan weight & torque | Engineered for rotation | Required Standard |
| Retrofit Fan Box (e.g., Saf-T-Brace) | Expands & locks between joists from below | Unparalleled structural support | Best for finished ceilings |
If you’re planning a ceiling fan installation or want it done safely by licensed electricians, our team at Van Isle Electrical is here to help.
Book your professional ceiling fan installation today and get a safe, code-compliant setup done right the first time. .
Step 3: Mounting the Ceiling Fan Bracket Securely
Safety is anchored in the hardware. We never rely on drywall anchors or inadequate screws alone. Our technicians utilize a heavy-duty, manufacturer-specified ceiling fan mounting bracket that bolts directly into the approved ceiling fan electrical box.
Vibration Absorption
This bracket is engineered to absorb the harmonic vibrations of the motor, preventing the dreaded "ceiling fan wobble" that plagues amateur installations.
Complex Architectures
For homes with unique designs, such as a vaulted ceiling fan installation or sloped ceilings, we employ specialized angled mounting hardware and extended downrods. This ensures the fan hangs perfectly plumb and operates smoothly without placing undue stress on the electrical connections.
Step 4: Wiring a Ceiling Fan and Connecting Controls
With the physical mount secured, we move to the core of the job: wiring a ceiling fan. Our licensed electricians meticulously strip, connect, and secure all conductors using industrial-grade wire nuts and electrical tape, ensuring zero risk of arcing, short circuits, or fire hazards.
Wiring & Control Integration Options
| Integration Method | Functionality | Best For |
|---|---|---|
| Dual Control Setup | Independent, convenient control of the fan motor and the light fixture via wall switches. | Traditional homes & bedrooms |
| Smart Integration | Seamlessly integrate smart remote control receivers or wall-mounted variable speed controls. | Modern aesthetics & automation |
| Neatness and Safety | All connections neatly tucked inside the canopy, strictly adhering to the Canadian Electrical Code (CEC). | Long-lasting, hazard-free operation |
Complete Residential Electrical Solutions
Panel upgrades, rewiring, EV chargers, ceiling fans, and more. Our licensed electricians handle projects of all sizes with safety, precision, and code compliance. .
Step 5: Testing and Balancing the Ceiling Fan
The installation is not considered complete until rigorous, multi-point testing is performed. We attach the blades, motor housing, and light kits, ensuring every single screw is torqued to the manufacturer’s exact specifications.
Smooth Operation Verification
Testing the fan across all speed settings to ensure quiet, seamless motor performance.
Dynamic Balancing
Checking for any harmonic vibration or wobble, and applying dynamic balancing weights if necessary.
Lighting and Control Testing
Verifying the functionality of the light kit, dimmers, and any integrated smart controls or remote receivers.
Thermal and Safety Check
Ensuring the motor housing remains cool and the canopy is securely flush with no exposed wiring.
The Unmatched Value of Professional Expertise
Understanding the theory behind how to ceiling fan installation is one thing; executing it with the precision required to protect your home, family, and investment is entirely another. Improper installation can lead to severe electrical fires, structural ceiling damage, voided manufacturer warranties, and persistent, annoying wobbling.
By choosing Van Isle Electrical, you are not merely purchasing a fixture placement. You are investing in meticulous craftsmanship, absolute safety, and long-term reliability. Our methodical, transparent, and highly technical approach to professional ceiling fan installation ensures that your new ceiling fan operates flawlessly for years to come, elevating both the comfort and the value of your home.
Ready to Upgrade Your Electrical System?
Get a free, no-obligation estimate from Vancouver Island's trusted electrical experts. Available 7 AM - 9 PM daily for emergencies and consultations. .